In digital marketing, seamless integration and real-time data exchange are paramount for success. One powerful tool that empowers marketers in achieving this synchronization is the webhooks within marketing automation platforms like Marketo.
In this step-by-step guide, we’ll explore setting up a webhook in Marketo by configuring the settings to ensure optimal performance. Moreover, whether you’re a seasoned marketer looking to enhance your automation capabilities or a newcomer seeking to streamline your workflows, this comprehensive guide will walk you through the stages of implementing webhooks in Marketo. Moving forward, let’s delve into this seamless data connectivity and elevate your marketing efforts to the next level.

Setting up Marketo Webhooks:
Webhooks allow you to integrate external systems or applications with Marketo to exchange data and trigger actions. Here’s a step-by-step guide on setting up a webhook in Marketo:
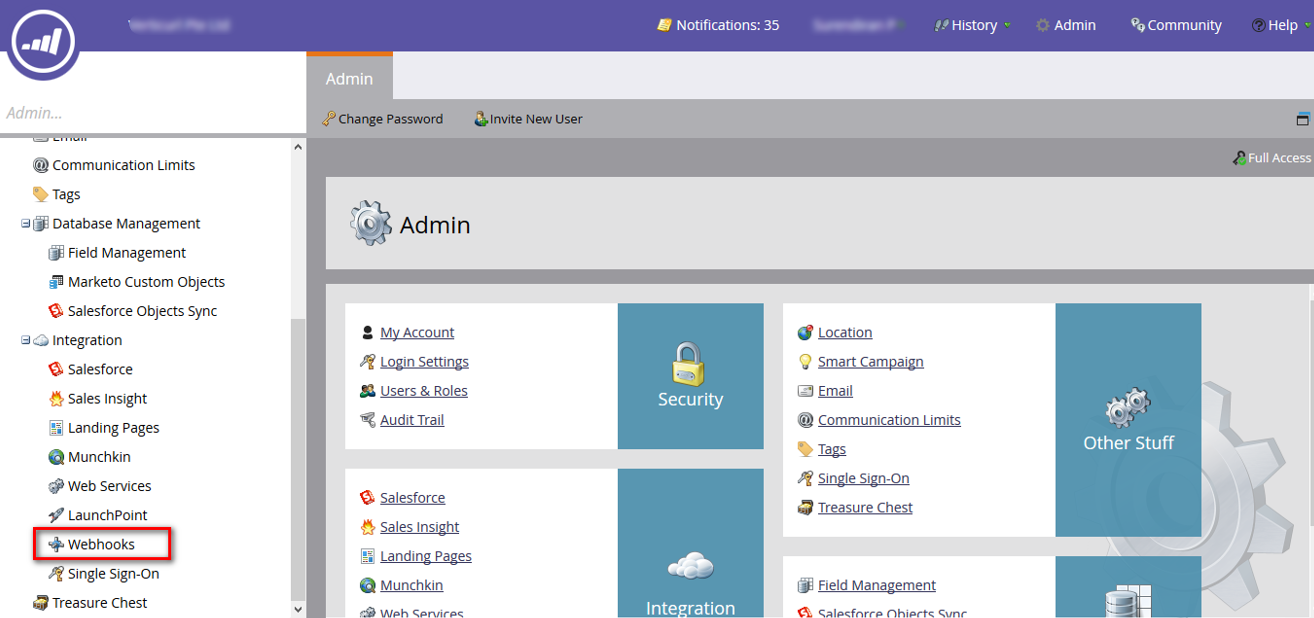
Step 1: Navigate to Admin
- Firstly, log into Marketo and click on your profile name in the top right corner.
- From the drop-down menu, select Admin.
Step 2: Go to Webhooks
In the navigation panel on the left side of the Admin area, select Webhooks under the Integration options.
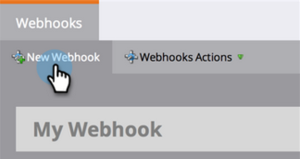
Step 3: Create a New Webhook
Click the “New Webhook” button on the top left of your screen to create a new webhook.
Step 4: Configure Webhook Settings
You’ll see a pop-up that lets you build a Webhook.

Next, fill in the required information for your webhook:
- Webhook Name: Firstly, provide a suitable name for the webhook.
- Description: Next, provide a brief description of the webhook’s purpose.
- URL: Enter the URL of the external system or application that will receive the webhook payload.
- Request Type: Then, choose the HTTP method (usually POST) for sending data to the webhook URL.
- Template: Used to map the information in Marketo (via Tokens) to your external system. You can choose any data format that works with sending information through HTTP POST, such as XML, JSON, or SOAP.
- Request Token Encoding: If the token values include special characters (such as an ampersand, ‘&’), then indicate the format of your request as JSON or Form/URL.
- Response Type: Finally, select the format for the data payload (typically JSON or XML).
Step 5: Define Webhook Actions
- In the Webhook Actions section, configure the actions you want to trigger when the webhook is called.
- Common actions include creating a lead, updating a lead’s information, or triggering a custom event.
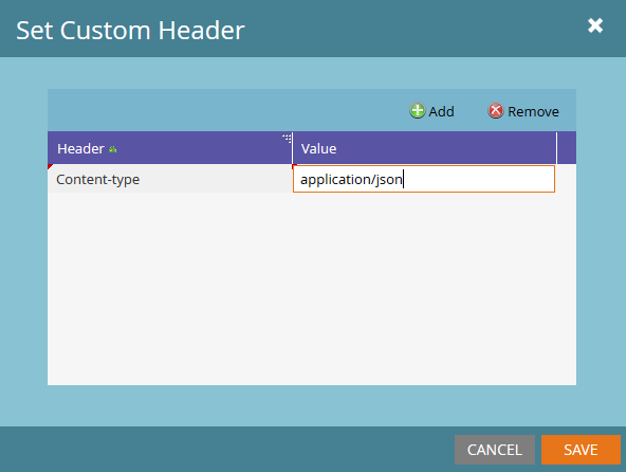
Step 6: Add Custom Headers
Webhooks let you include multiple Custom Header fields when you send a request. However, if your webhook requires custom headers, you can add them by navigating to Webhooks Actions > Set Custom Header. It records each header as a simple Key-Value pair. In addition, you can also use Tokens in this area.
Step 7: Response Mappings
Marketo can change the information it gets from a Webhook in two ways and give the values back to a lead field: JSON and XML. Each Webhook can have lots of response mappings. You can add or change them by clicking the Edit button in the Response Mappings pane of your Webhook.

Step 8: Activate the Webhook
- Before deploying the webhook in your live campaigns, test it to ensure it works correctly (Marketo provides a testing option within the webhook setup where you can simulate a call to the webhook and verify the response).
- After completing the configuration and testing, save your changes and activate the webhook to make it live by clicking “Create”.
- Ensure the webhook is active now, and you can use it in your campaigns.
Step 9: Monitor and Troubleshoot
- Most importantly, regularly monitor the webhook’s performance and check for any issues.
- If you encounter problems, Marketo provides logs and error messages to help you troubleshoot and resolve issues.
Boost Your Marketing with Webhooks in Marketo!
Ready to harness the power of webhooks in Marketo but not sure where to start?
Marmato Digital is here to help you seamlessly set up and optimize your webhooks for maximum impact. We’ll work with you to ensure that it is configured correctly, securely, and efficiently so you can focus on what matters most: delivering exceptional marketing campaigns and engaging with your audience.
Contact us today to embark on your journey towards more efficient, data-driven marketing success with Marketo webhooks.
Subscribe to blogs
Get our latest blogs directly to your inbox.